Tutorial: How to Track and Blur Ojects with AVCLabs Video Blur AI
AVCLabs Video Blur AI offers a sophisticated object blur feature that allows you to selectively blur specific objects within a video frame. By utilizing advanced AI algorithms, the tool accurately identifies and isolates the target object, applying a customizable blur effect to it without affecting the surrounding areas.
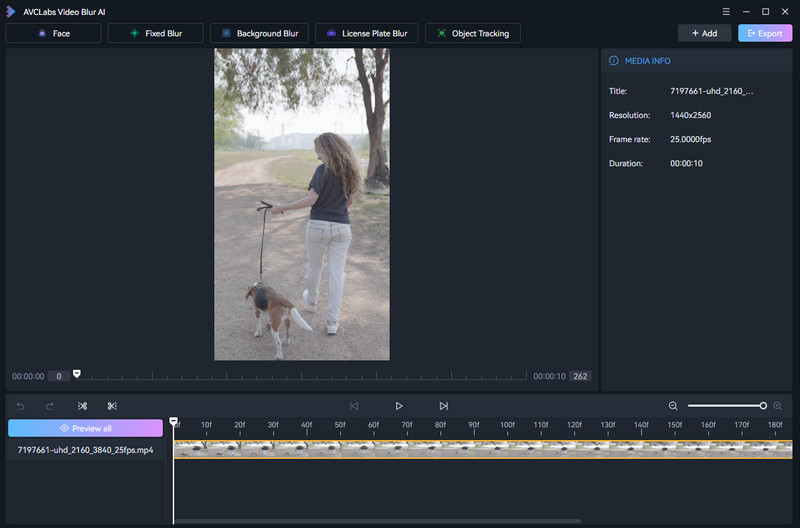
Import Video
Click the "Browse" button or drag and drop to import a video. Or you can open a local project from the main interface. The video edit toolbar provides a trimming tool to trim off the beginning and the end of the video if you don’t need them.
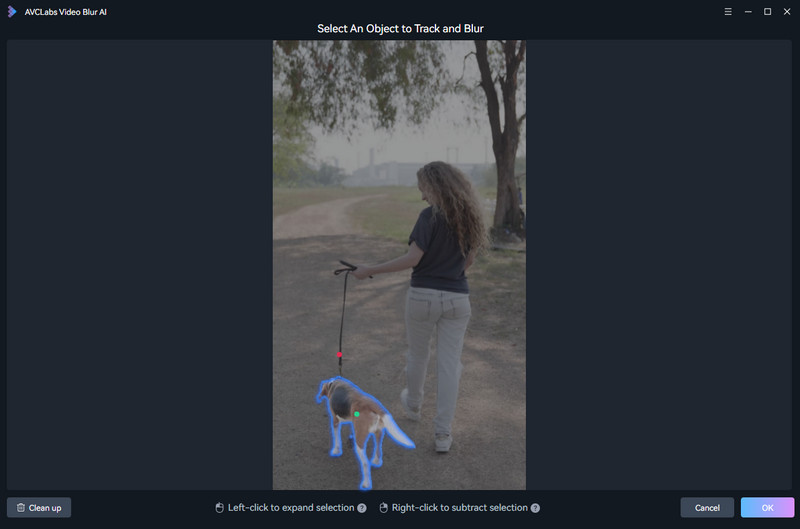
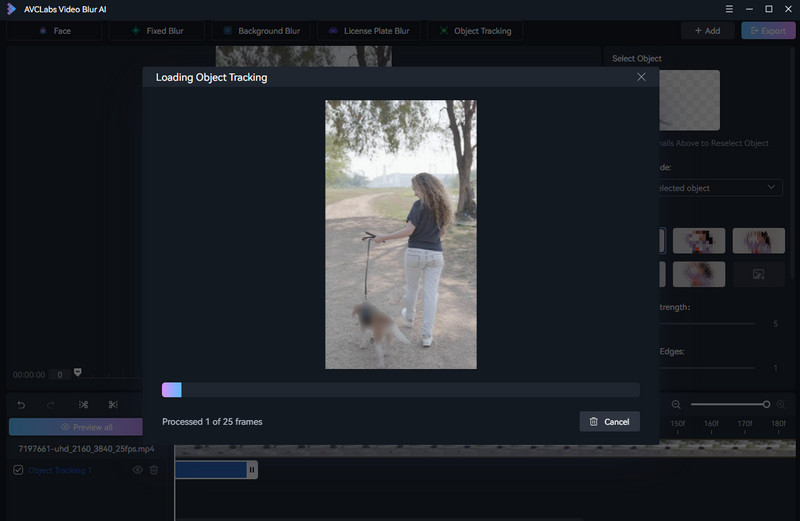
Select Object tracking Feature
At the top of the program, select "Object Tracking" to start an object tracking task. You will enter the object selection interface. Click to select the object you want to blur. Left click to expand the selection and right click to subtract the selection. Click OK and wait for AI models to load for a preview.
Edit Object Tracking Task (Setting)
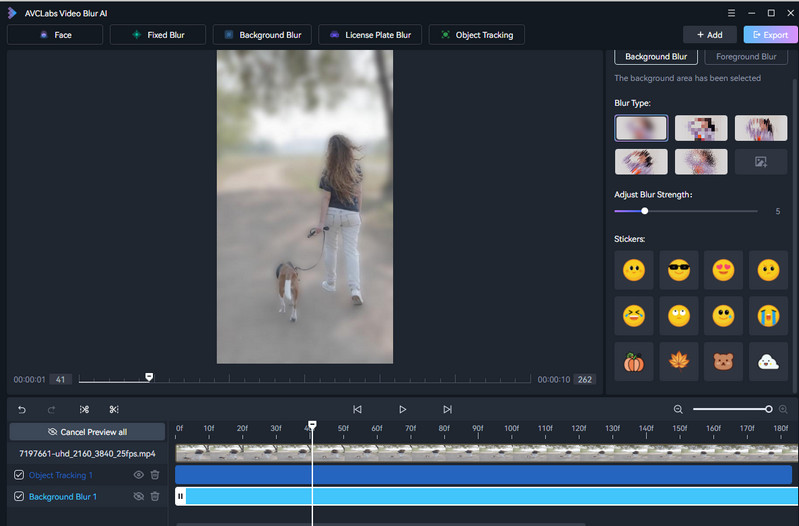
Once you choose an object for tracking and blurring, you'll step into the Object Tracking Settings interface, where you can effortlessly edit your Object Tracking task with editing options.
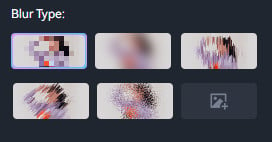
2. Select Blur Type
You have the option to choose from 5 different blur types - Mosaic, Standard Blur, Longitudinal Blur, Blique Blur, and Particle Blur. Alternatively, you can also upload a custom image from your desktop.
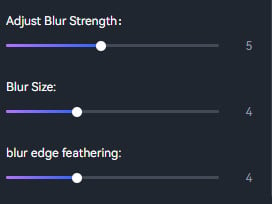
3. Adjust Blur Effect
Adjust the blur effect by dragging the slider: slide to the right to increase effect, and to the left to decrease it.
a. Adjust Blur Strength
This is used to control the intensity of the blur. By dragging or adjusting this button, you can increase or decrease the blur effect, making the image or video more blurred or clearer.
b. Adjust Blur Edge Feathering
This is used to adjust the degree of feathering at the edges of the blur. Feathering refers to the transition effect between the blur effect and the edges of the image or video. By adjusting this button, you can control the softness of the blur edges, making the blur effect more natural or more prominent.
4. Edit Object Tracking Task
To conveniently edit the blur task, simply right-click the timeline panel at the bottom.
Delete: Delete current blurring task.
Set as the end frame: Drag the playhead to select a end point, then right click the timeline panel and select "Set as the end frame".
Add More Blur Tasks
You can also add additional blur tasks, such as Background Blur or License Plate Blur, and follow the steps above to edit each task. When there are multiple blur tasks, you can tick the checkbox to control the desired blur tasks you want for export or preview.
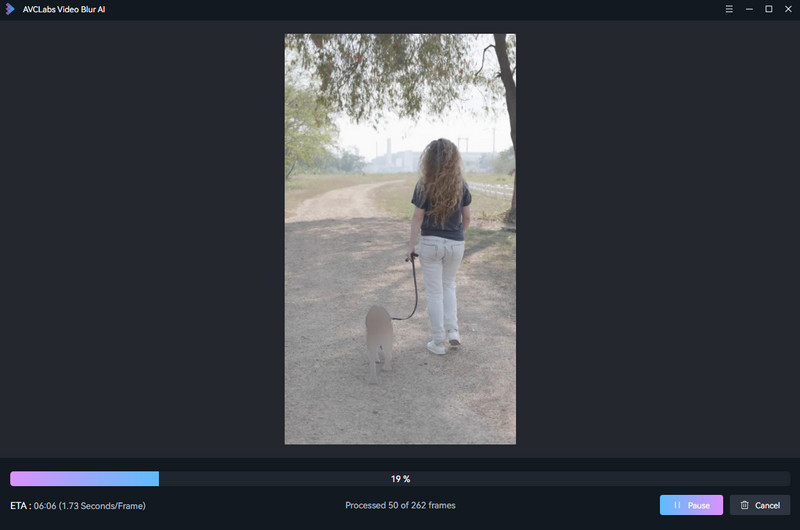
Start Preview Mode
Before exporting, take a sneak peek of the blur effect. Simply click the Preview all or the EYE icon to initiate the preview mode. Please be patient while the preview mode loads.
Start Export
If you are pleased with the applied blur effect, simply click the "Export" button located at the top right corner to start the export process for your video blur project.