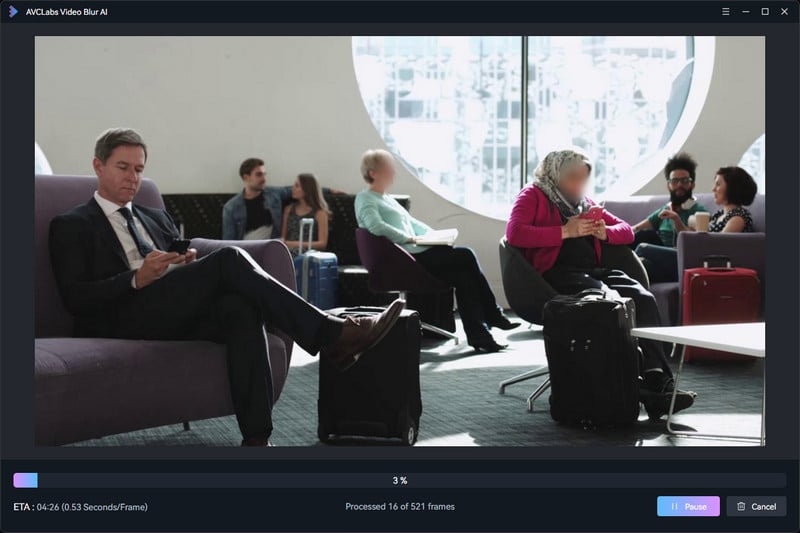
Tutorial: How to Blur Faces with AVCLabs Video Blur AI
AVCLabs Video Blur AI offers convenient face blur functions that cater to various needs: you can blur all faces in a video with a single click for quick anonymization, selectively blur specific faces to maintain clarity where needed, and freely choose which faces to blur with manual selection for precise control over privacy protection.
Step 1. Import Video
Click the "Browse" button or drag and drop to import a video. The video edit toolbar provides a trimming tool to trim off the beginning and the end of the video if you don’t need them.
Step 2. Select Face Blur Feature
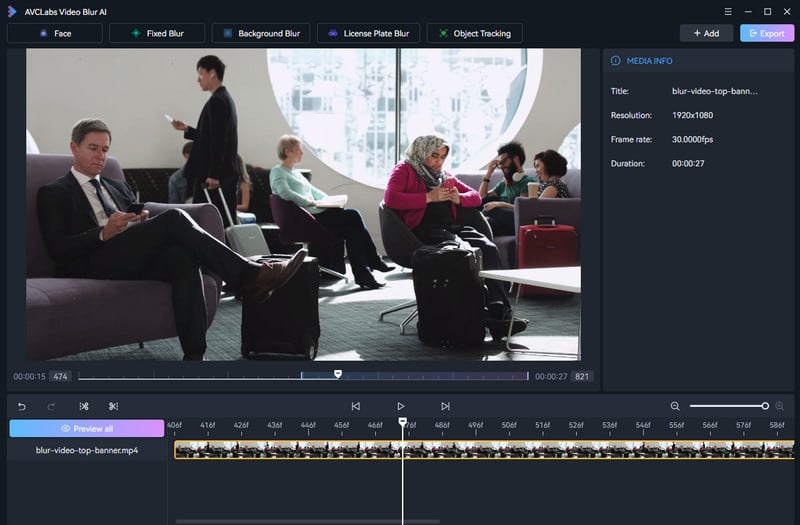
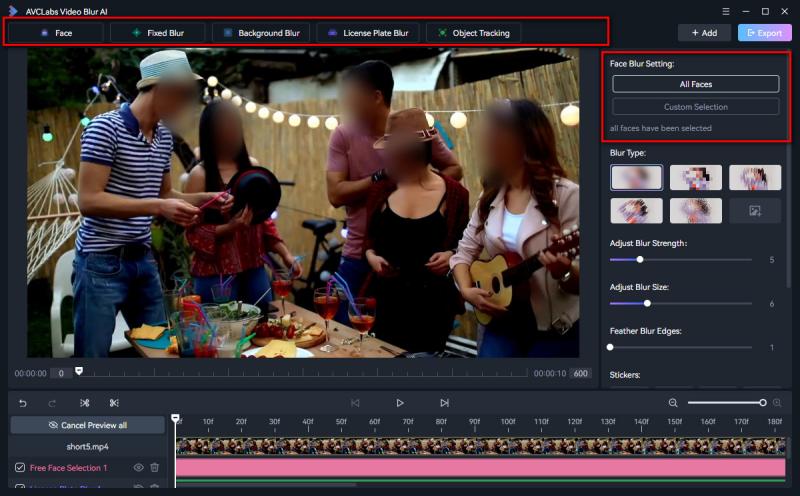
At the top of the program, select "Face" fearure to start a face blur task.
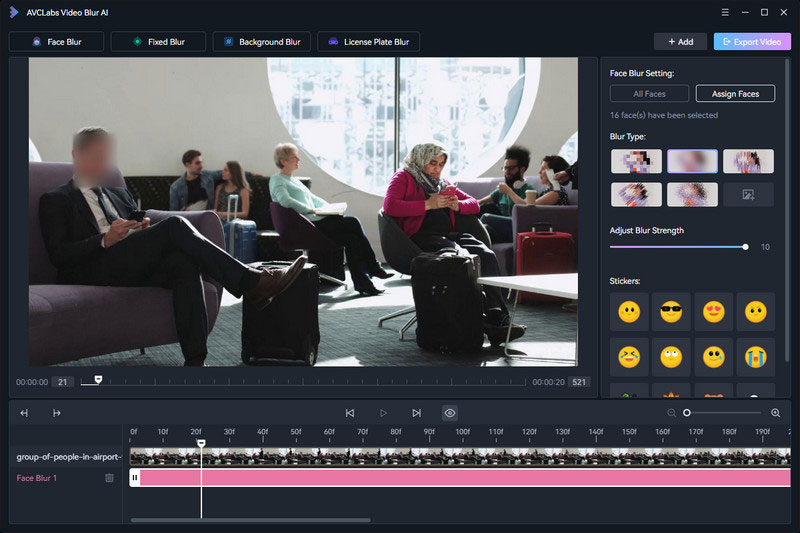
Once you add a Face Blur task, you'll step into the Face Blur Settings interface, where you can effortlessly edit your Face Blur task with editing options.
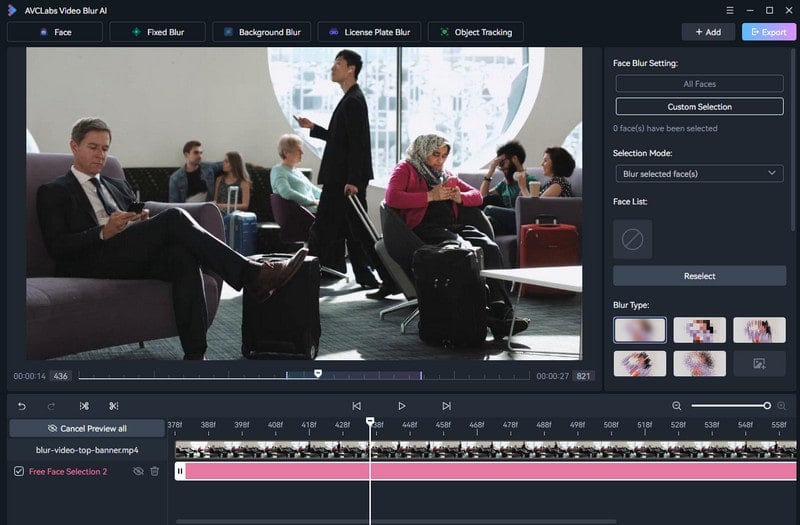
Step 3. Select All Faces or Custom Selection
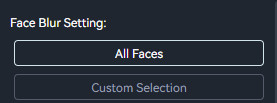
All Faces:
When you select "All Faces", the program will effortlessly apply a blur effect to every single face that appears in the video.
Custom Selection:
By choosing "Custom Selection", the program will apply a blur effect exclusively to the faces you have selected. It's a fantastic feature that allows you to personalize your blurring experience.
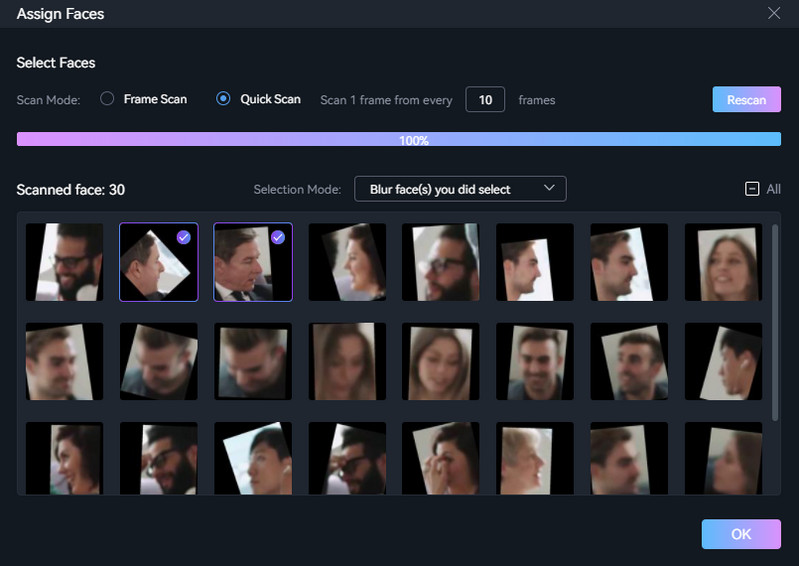
After selecting Custom Selection, the Select Face from Frame window will open. Check the specific faces you want to blur, then confirm your selection to apply the blur effect.
If you want to select more faces or change the face selection settings, click Select Faces to open the face selection window. You can also click the + button to import a reference photo of a face, so the program can better identify and locate that person in the video.
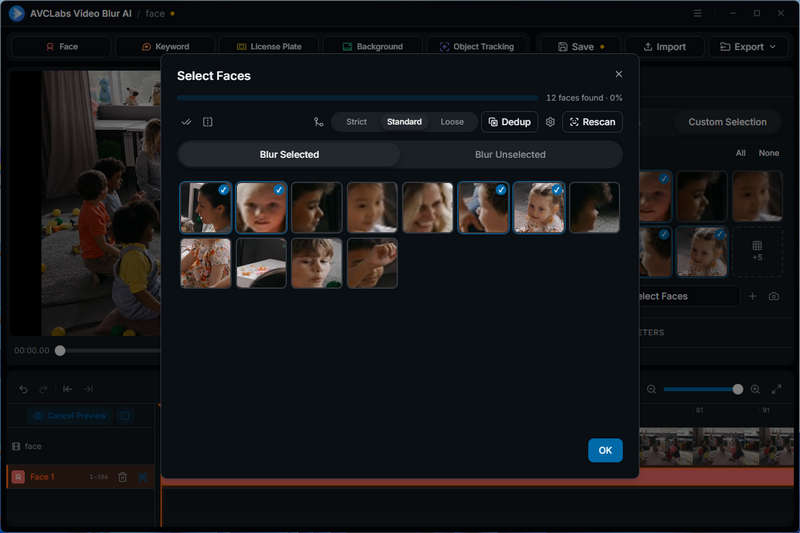
From here, you can:
• Choose Blur Selected to blur only the checked faces, or Blur Unselected to blur all other detected faces.
• Use Dedup to control how strictly similar faces are grouped. You can choose Strict, Standard, or Loose depending on the footage.
• Enable Merge Same Person to manually group multiple detected faces that belong to the same person.
• Click Rescan to scan the video again when some faces are missing or incorrectly detected.
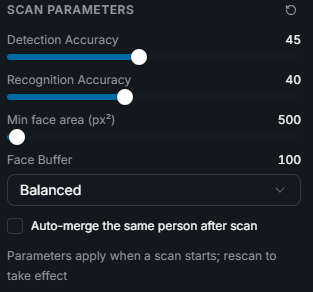
• You can also Open Scan Parameters to fine-tune scan parameters such as Detection Accuracy, Recognition Accuracy, Min Face Area, and Face Buffer.
Step 4. Select Blur Type
You have the option to choose from 5 different blur types - Mosaic, Standard Blur, Longitudinal Blur, Blique Blur, and Particle Blur. Alternatively, you can also use a Solid Color or upload a custom image from your computer as the blur effect.
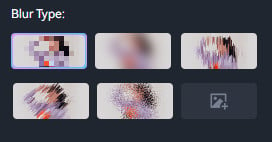
3. Adjust Blur Effect
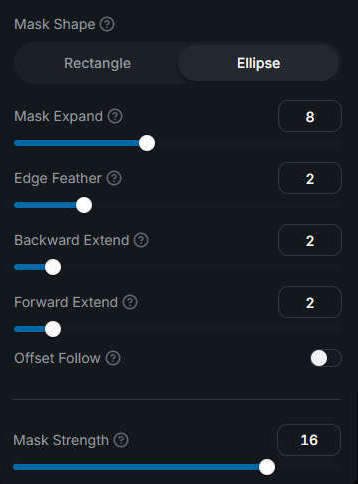
Fine-tune the blur area and appearance using the settings below. Drag the sliders or enter values directly to adjust each parameter.
① Mask Expand
Adjust the size of the blur area around the detected face or object. Increase the value to cover a larger area.
② Edge Feather
Control the softness of the blur edges. A higher value creates a smoother transition between the blurred and unblurred areas.
③ Backward Extend / Forward Extend
Extend the blur effect backward or forward across additional frames to improve coverage when the face or object moves.
④ Mask Strength
Adjust the intensity of the blur effect. Increase the value for a stronger blur, or decrease it for a lighter effect.
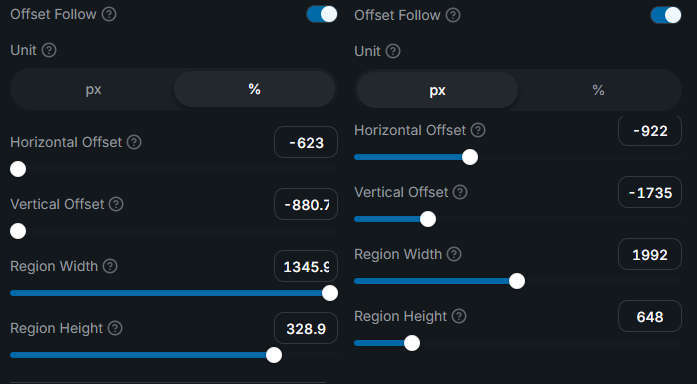
⑤ Offset Follow
Enable Offset Follow to manually adjust the position and size of the blur region relative to the tracked face. When Offset Follow is enabled, you can further adjust:
- Horizontal Offset: Move the blur region left or right.
- Vertical Offset: Move the blur region up or down.
- Region Width: Adjust the width of the blur area.
- Region Height: Adjust the height of the blur area.
4. Edit Face Blur Task
To conveniently edit the blur task, simply right-click the timeline panel at the bottom.
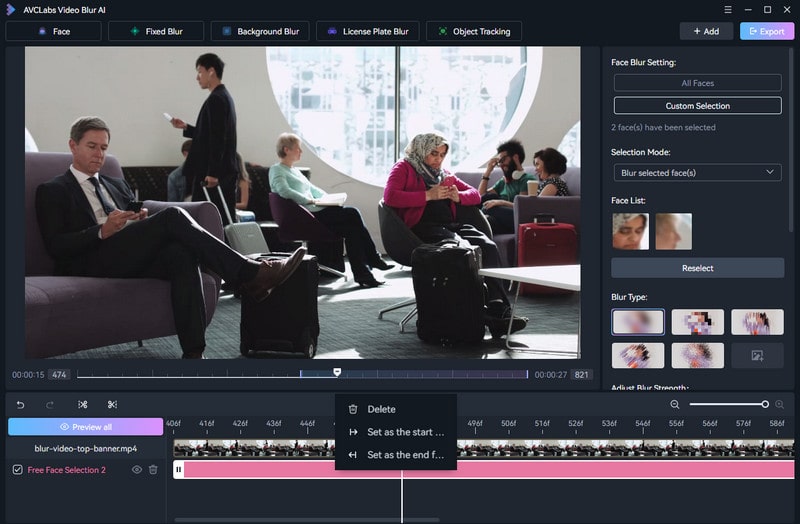
Delete tracks: Delete current blurring task.
Set range start: Drag the playhead to move through the frames of a sequence to select a start point. Afterward, right-click on the timeline panel and select the option "Set range start".
Set range end: Drag the playhead to select a end point, then right click the timeline panel and select "Set range end".
Add More Blur Tasks
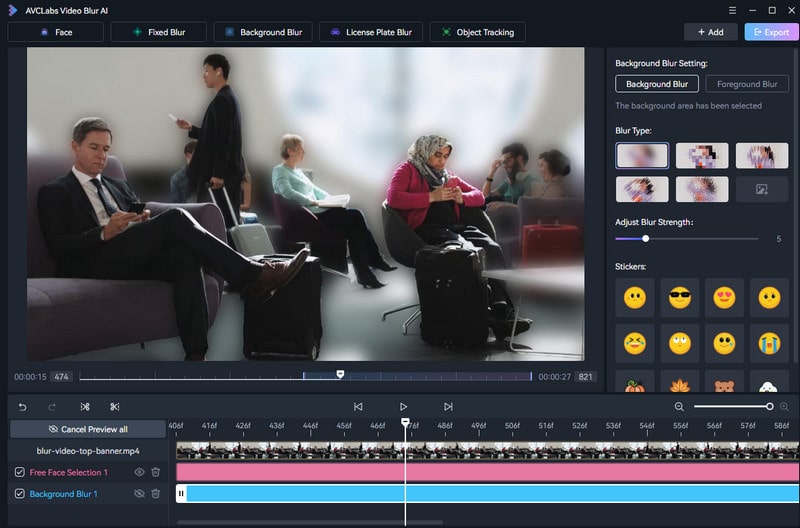
You can also add additional blur tasks, such as Background Blur or License Plate Blur, and follow the steps above to edit each task. When there are multiple blur tasks, you can tick the checkbox to control the desired blur tasks you want for export or preview.
Preview Mode
When you add a blur task, the program will automatically enter a preview mode, meaning you can see the blur effect immediately on adding the blur task. Click the Cancel Preview all button to exit the preview mode. You can also click the Eye icon beside each blur task to preview individual blur effect.
Start Export
If you are pleased with the applied blur effect, simply click the "Export" button located at the top right corner to start the export process for your video blur project.