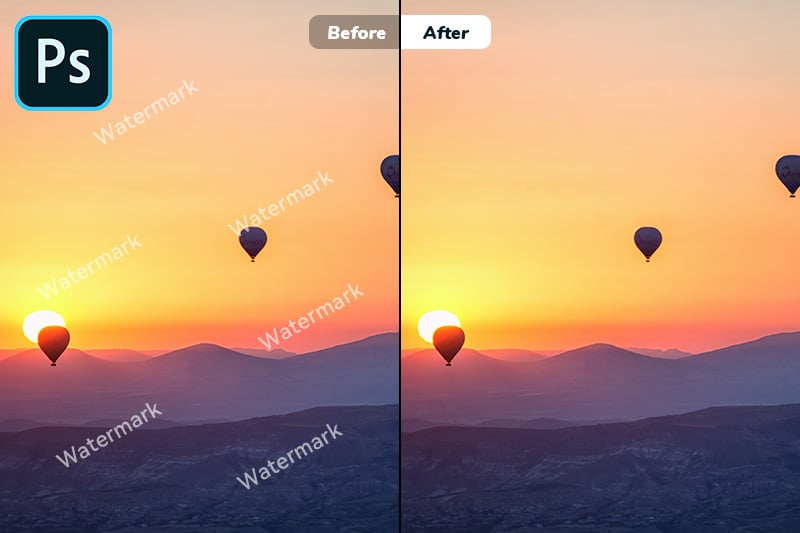
How to Use the Spot Healing Brush in Photoshop
"How do you use the spot healing brush tool in Photoshop?"
In the digital age, photo editing has become an essential skill. Whether you're a professional photographer or just someone who wants to enhance their social media presence, the ability to retouch and improve images is invaluable. One of the most versatile tools for this purpose in Adobe Photoshop is the Spot Healing Brush. This article aims to guide you how to use the spot healing brush in Photoshop.
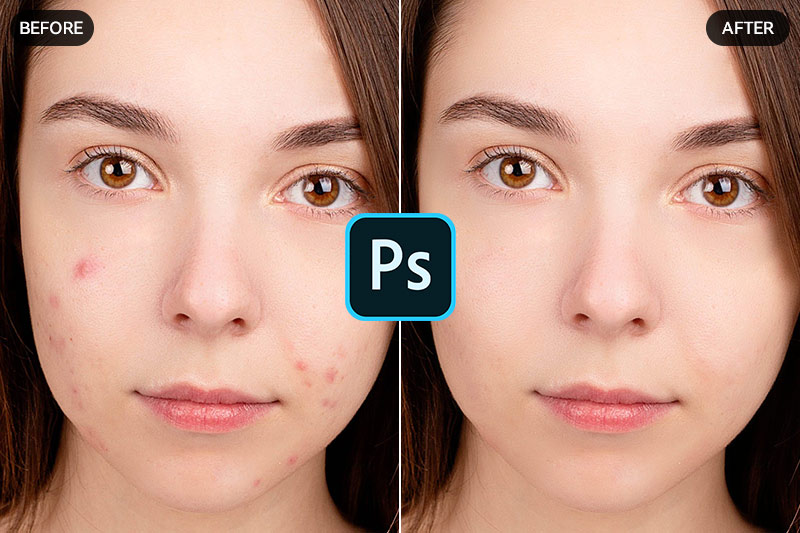
Part 1: Understanding the Spot Healing Brush Tool
Before diving into the practical aspects, let's understand what the Photoshop Spot Healing Brush tool is all about. In essence, it is a retouching tool designed to seamlessly remove unwanted elements from photos.
What Is the Spot Healing Brush Tool
The Spot Healing Brush tool is a powerful feature in Adobe Photoshop designed for retouching and removing imperfections from photos. It automatically blends the sampled area with the surrounding pixels, making it an excellent choice for quick and effective touch-ups.
Overview of Its Functionality
The tool essentially works by analyzing the texture, lighting, and color of the sampled area and applying it to the target spot seamlessly.
Comparison to other retouching tools in Photoshop
Unlike other healing tools in Photoshop, such as the Clone Stamp or the Healing Brush, the Spot Healing Brush works by automatically sampling the surrounding pixels and blending them in real-time. This makes it an incredibly efficient and time-saving tool for small retouching tasks.
Part 2: How to Use the Photoshop Spot Healing Brush Tool
We will now explore the process of eliminating imperfections from the photo using the spot healing brush tool in Photoshop.
Steps to Use the Photoshop Spot Healing Brush Tool
Step 1: Open A Photo in Photoshop
To get started, simply run Photoshop and open your desired photo by selecting File > Open from the top menu bar.

Step 2: Select the Spot Healing Brush Tool to Remove Spots from A Photo
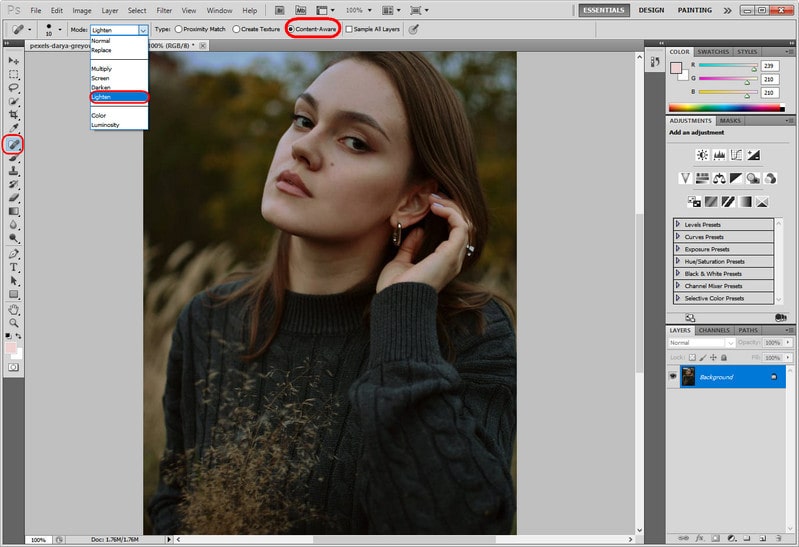
Once the photo you want to retouch is opened, look for the Spot Healing Brush tool in the toolbar on the left-hand side. It is represented by an icon resembling a band-aid. Click on it to activate the tool. To ensure optimal results, adjust the brush size and hardness according to the area you want to retouch. A smaller brush works well for precise work, while a larger one is suitable for more extensive areas.
To remove spots from the photo, simply click on the imperfection with the "Spot Healing Brush" once. Photoshop will analyze the surrounding pixels and blend them seamlessly, making the imperfection disappear. For even better results, try enabling the Content-Aware option, which automatically blends the sampled pixels for a natural look.
Step 3: Preview and Save the Photo
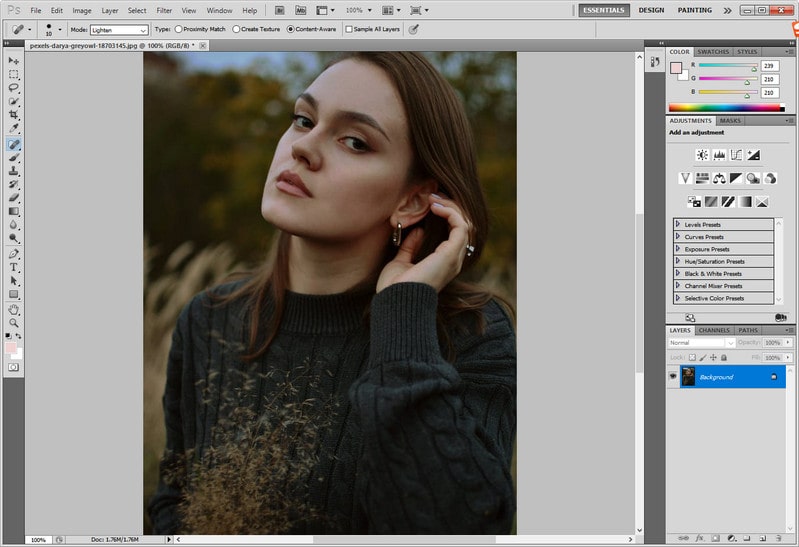
After the spots removing process is done, you can see the retouched photo below. Finally, you can click on the Save button to save the photo.
Part 3: Bonus: AI-Powered Spot Healing Brush Tool - AVCLabs PhotoPro AI
If you're looking for an even more advanced and automated solution, consider using AVCLabs PhotoPro AI. This AI-powered photo editing software incorporates the latest machine learning algorithms to automatically remove spots and imperfections from your photos with incredible accuracy and efficiency. With just a few clicks, AVCLabs PhotoPro AI can analyze and retouch your images, saving you time and effort in the editing process.
Key Features of AVCLabs PhotoPro AI
- Clear up blurry photos with advanced technology
- Cutout image to make the background transparent
- Remove unwanted objects, people, watermarks
- Change the style of image to create unique look
- Colorize B&W photos to make it come to life again
- Upscale photos up to 3x, 4x without losing quality
- Replace objects in photos with AI
Steps to Remove Spots from A Photo with AVCLabs PhotoPro AI
Step 1: Download and Install AVCLabs PhotoPro AI
To utilize this AI-powered spot healing brush tool, start by downloading and installing AVCLabs PhotoPro AI on your computer. Open the program to unleash its powerful capabilities.
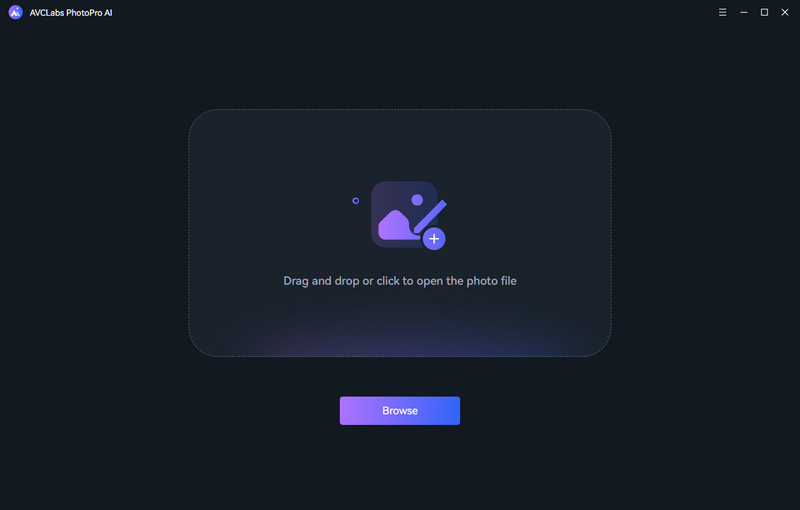
Step 2: Add A Photo You Need to Retouch
To import a photo to the program, you can either click on the Browse button or simply drag and drop the photo directly.
Note: Currently supported formats: PNG, JPG, JPEG, BMP, RAW, etc.
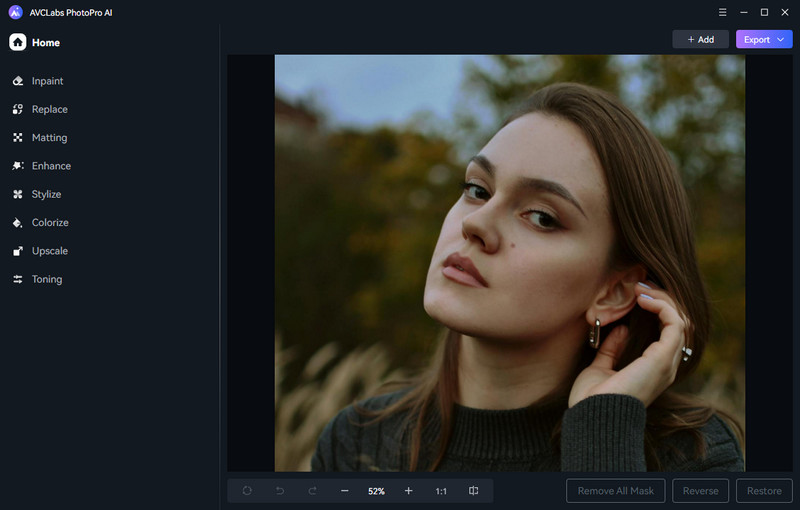
Step 3: Go to the Inpaint Model and Select the Spots to Remove
Upon importing the photo into the program, simply click the Inpaint model from the left panel of the program to continue.
Afterwards, select the specific spots that require removal by using the Brush tool.
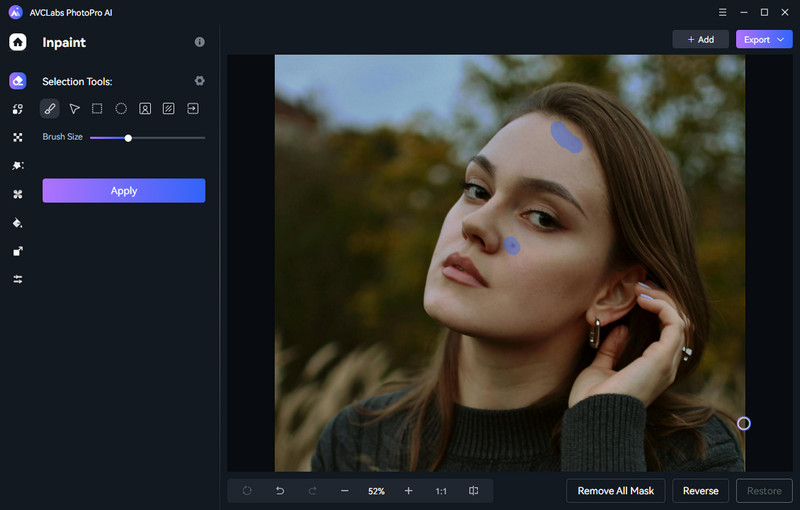
Step 4: Apply the Inpaint Model to Remove Spots from A Photo
Now, click the Apply button, allowing AI to perform automatic removal.
Once the removing process is completed, you have the option to preview the effect of the removal by clicking on the Contrast button.
If the outcome meets your needs, you are able to click the Export button to save it to your computer.

Part 4: Tips and Tricks for Mastering the Photoshop Spot Healing Brush Tool
To truly harness the power of the Spot Healing Brush, here are a few tips and tricks to keep in mind:
1. Working with different blending modes:
Photoshop offers several blending modes that can enhance the effects of the "Spot Healing Brush". Experiment with modes like "Lighten" or "Darken" to achieve creative and unique results.
2. Taking advantage of keyboard shortcuts:
Photoshop is known for its extensive keyboard shortcut options. Learn and utilize shortcuts specific to the "Spot Healing Brush" tool to speed up your workflow and save time.
3. Utilizing pressure sensitivity with a graphics tablet:
If you're using a graphics tablet that supports pressure sensitivity, take advantage of it when using the "Spot Healing Brush". This enables more precise and natural retouching by adjusting the brush size and opacity based on the pressure applied.
Conclusion
The Photoshop Spot Healing Brush Tool is an incredibly useful tool for editing and retouching photos. It can be used to correct minor blemishes, wrinkles, and other imperfections on faces in photographs. By mastering this tool, you can create a higher level of realism in your work while saving time and effort. Whether you are new to Photoshop or have been working with it for some time, the tips and tricks outlined in this blog post can help you get the most out of the Spot Healing Brush Tool.
In order to get the most out of this tutorial, it is also recommended that you explore the AI-Powered Spot Healing Brush Tool found in AVCLabs PhotoPro AI. This tool has the ability to make even complex healings easier and faster, which is great news for those who are just getting started with editing or those looking for an advanced solution for their photo retouching needs. Now go forth and join the ranks of professional photo editors by mastering Photoshop's Spot Healing Brush tool today!

